Installing wooden wall coverings
— step by step
1
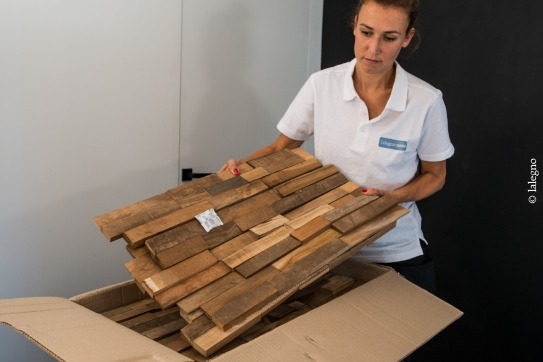
Arrange your Wall Esthetics panels on the floor first. This allows you to see the pattern and determine any cutouts. Mark your cutouts and carefully cut them out with a jigsaw.
2
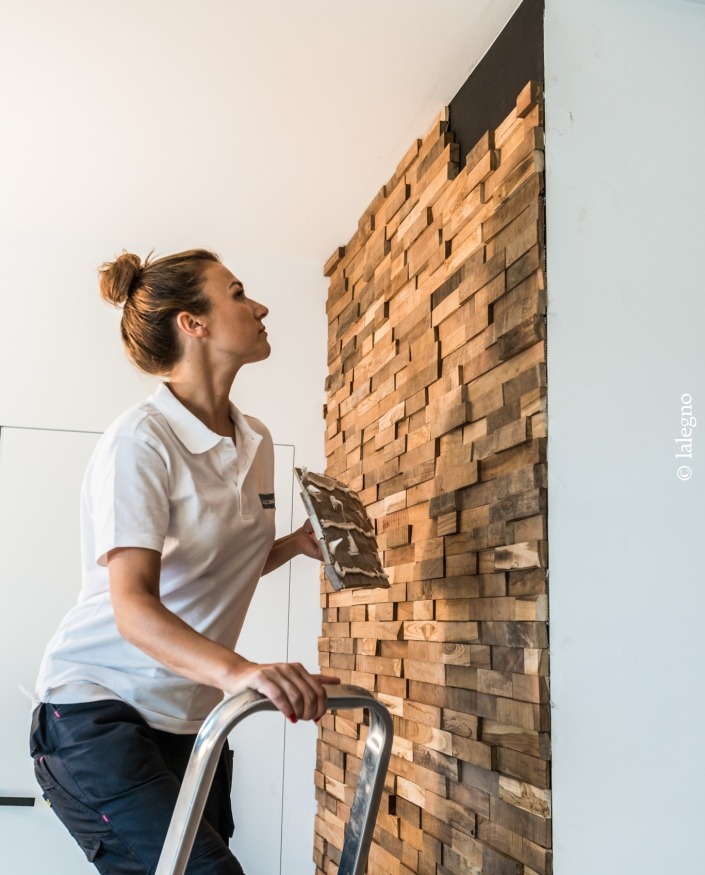
Start at the bottom of the wall. Cut the first panel in the middle widthwise with a crosscut saw. Start your row with 1 of the half panels, align it on the left side and attach. Use a spirit level or laser to continue gluing the row and follow the plumb line to create a random bond. This will make the seams invisible.
3
Glue the wooden wall panelling with a suitable and high-quality glue, such as Emfimastic High Power. Always apply the glue line in a horizontal direction.
Clad a wooden wall? Then use a nail gun, in combination with a polymer adhesive. For wall panels above eye level, shoot nails at a downward angle, panels below eye level fix at an upward angle. Nails at eye level shoot into the corners of the panel and between the battens.
4
Are you at the end of your row? Cut the last panel of the row to size with a crosscut saw. With the rest of the panel, start the next row.
5
After installing 5 rows, check thoroughly that your lines are still straight. Correct where necessary and keep the random pattern of the wooden wall paneling.
6
Keep an expansion joint of 10 mm on all sides of the wall by using spacers. These joints absorb the influence of temperature differences and humidity on the wood.