


Image
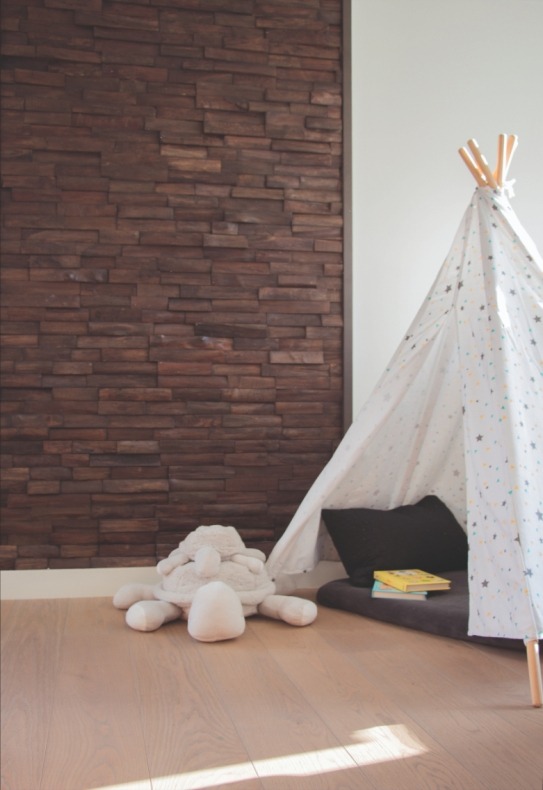
A good start is half the work. So before you install your wood wall panelling, you better prepare the walls correctly. We will guide you step by step through this important phase.
To guarantee an optimal and sustainable result, you place the wood wall panelling in the right circumstances. Therefore, keep the following conditions in mind:

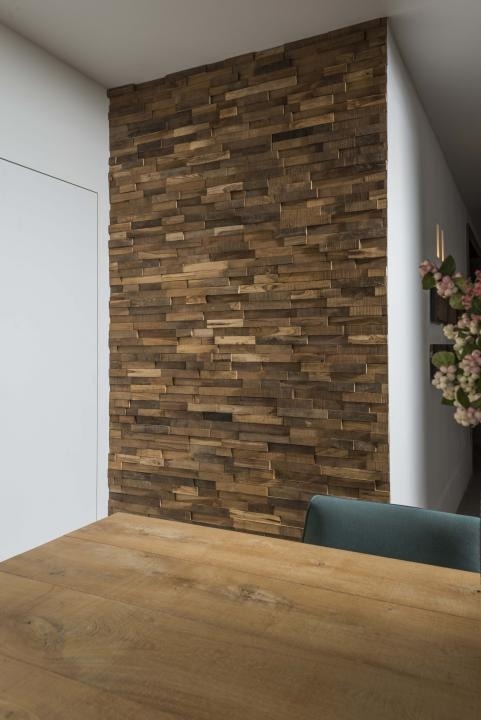
Our wood wall panelling for interior is applicable on diverse surfaces. Although minor unevenness can be overcome, ideally you should work on flat walls. Check if the walls are clean, dry and free of loose material or debris. In addition, they should be able to support the weight of the wall panel and any supporting structure.
To prepare the wall for installation, go through a few more steps:
1. Check that the walls run level from ceiling to floor.
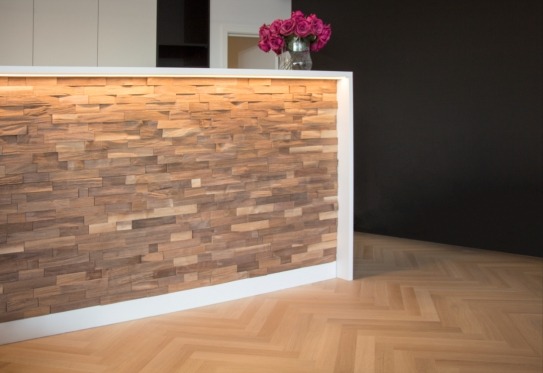
2. Mark out a plumb line on the wall, as a guide for straight placement of the wood wall panelling. Use a laser to determine your starting position, with horizontal and vertical lines.
3. Paint the background walls with black paint, so that any gaps will be less noticeable afterwards.
Are you wondering how to tackle your specific basic wall? Check the below foldable menu.
Concrete basic walls should be dry, for at least 60 days, before you coat them with Lalegno Wall Esthetics. That way you can be sure they are fully cured. Check if the wall is dry, smooth, flat and that there are no signs of structural defaults. Keep these rules in mind:
Brick base walls should be structurally sound, with no loose parts. Remove any paint, oil, adhesive residue, wax, grease, dirt, ... chemically or mechanically. Be sure not to use strippers with solvents. These can counteract proper adhesion. Are the general tolerances of masonry respected? Then you can expect an effective bond and neat finish.
Wood base walls should be properly nailed or screwed with countersunk nails and screws. Check that the wood base wall is structurally sound, level and dry. Keep in mind some important guidelines:
Lalegno Wall Esthetics panels are installable on ceramic tile and other hard surfaces that are dry, structurally sound and flat. The surface must be even, flat and dry. In addition, they must not contain paint, oil, existing adhesives, wax, grease or dirt. Sand ceramic tiles to ensure adhesion.
Wood is a living material. So before you install the wood wall panelling, let it acclimate to its new environment. You do this by allowing the wall panels in their packaging to acclimate for 72 hours in the room where you will install them.
So, now you're ready to install your wood wall panelling=;